
Get a Deep-Cleaned, Spotless Couch with these 6 Steps
Spooky season has officially commenced in Oklahoma City. The couch is a focal point in the living room where friends and family will eventually gather to watch reruns of The Rocky Horror Picture Show. But movies apart, have you paid attention to Halloween cleaning this year? The frequent activity that couches see makes them prone to collecting dust and dirt. From cookie crumbs to popcorn kernels to even the occasional spill of red wine, there is so much that goes on a couch.
Regular vacuuming and dusting are no doubt important, but they can only do so much. Some good old deep cleaning services might be what your couch needs this fall.
Cleaning Codes for Couches (and Other Upholstered Furniture)
● W - stands for water-based cleaners. Furniture with W tags are the easiest to clean.
● W/S - Both water and solvent-based cleaners are safe for furniture with the W/S tag.
● S - Only solvent-based cleaners is useful for furniture tagged S.
● X - This kind of furniture is only good for vacuuming or light brushing. Avoid using any chemical cleaning agents.
6 Simple Steps to Deep Cleaning Your Couch
Step 1 - Bust Out the Steamer
Hand-held steamers have become popular with homeowners these days. Steamers and steam irons were initially useful for garments, but they perform excellently when it comes to killing surface dust mites. Hold the steamer a couple of inches from the fabric. Let the steam come in contact and penetrate the fabric. Make sure to go over the entire sofa. If you do not have a steamer, skip over this step and move to vacuuming.
Step 2 - Vacuum the Surface
Most vacuums come with an upholstery cleaning attachment. Affix the head and vacuum the entire couch - back, front, arms, headrests, cushions, and skirts. Couches today come with removable cushions; take them off and vacuum the underlying fabric. Be careful to not miss sections. Once you finish your duties with the sofa, replace the vacuum head for the crevice tool and have a go at the seams, trims, and buttons (if any).
Step 3 - Patch Test the Cleaner
Now that you are free from the loose dust and dirt, it is time to bring out the chemical cleaners. Find a hidden area on your couch and patch test the cleaner to figure out if the cleaner is indeed safe for the fabric. The cleaner shouldn’t cause any color bleaching or water spots.
Step 4 - Spot Treat the Stains
For couches that can undergo cleaning with water-soluble chemicals, find an enzyme-containing formula to treat food and pet stains. Concoct a solution of ¼ teaspoon of the cleaners in about a cup of warm water. Unzip your cushion covers and apply the cleaning solution to the stain. Dab enough of the solution and firmly work your way inwards from the surface. After removing the stain satisfactorily, wipe the area with a damp cloth to remove the chemical residue. Finally, blot the area dry.
Fabrics tagged S, however, have a slightly different technique to them. You can either follow the directions on the pack or take help from the expert deep cleaning services of King’s Green Cleaning. You can trust us to provide green cleaning solutions for residential and commercial establishments. To find out more, visit our services page.
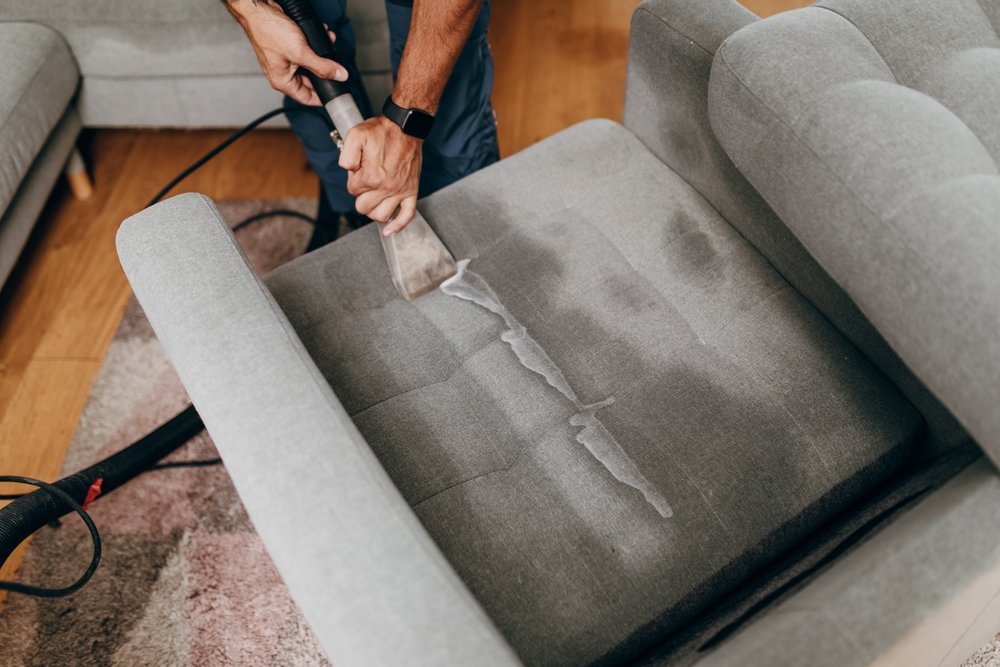
Step 5 - Pay Attention to the Arms and Headrests
Next, it is time to clean the arms and headrests of the couch. Use the same water-soluble cleaning mixture from Step 4 and spray the solution onto the fabric. The dirt comes out under the force of the water and goes through vacumming up into the tank. Solvent-only fabrics, once again, are best left to the professionals.
Step 6 - Finish by Sanitizing the Couch
The last and final step in deep cleaning your couch and other upholstery is sanitizing with a fabric-sensitive sanitary spray. Sanitizers can eliminate any lingering bacteria and any funky odor.
Schedule cleaning services with us via our website. You can find more information on our services, client testimonials, and pricing charts there too.